6 Day Itinerary for the Annapurna Base Camp Trek Without a Guide
This guide about the Annapurna Base Camp trek is authored by Charlotte and Natalie.
Are we fit enough? Is it safe? Have we gone completely stir crazy after two months backpacking India? These are all questions that crossed our minds when we were considering attempting the Annapurna Base Camp Trek without a guide.
Other than a few minor hiking days throughout our travels in South East Asia, we were total beginners when it came to trekking. Not only that, but we’d spent the past two years in a hot and humid climate.
To say we were underprepared in the attire department is an understatement. Still, we hadn’t come to Nepal to not get up close and personal with the mighty Himalayas. That would be scandalous.
So, we did our research. The Annapurna Base Camp Trek came up repeatedly as one of the most accessible treks in Nepal. The more we read, the more we were convinced this was the trek for us.
Sure, it was going to be a challenge. However, unlike the Annapurna Circuit Trek or Everest Base Camp Trek, it was doable in just over a week or less. At the same time, it would be more challenging than the likes of the Poon Hill trek, which is feasible in only a few days.
Assured we’d made the right decision, we put the wheels in motion to plan our trekking adventure. In this article, I’ll be sharing a detailed account of how to prepare for the Annapurna Base Camp Trek with or without a guide.
Table of Contents
Best Time to Trek Annapurna Base Camp
Of course, the first thing to think about when planning any kind of trekking in Nepal is the weather. Particularly at higher altitudes, the season will have a dramatic effect on your experience. Some months it is even considered dangerous to trek, so I can’t stress the importance of this point enough.
For the best conditions, you will want to trek during Spring (February-May) or Autumn (September-December). Spring is generally slightly warmer; however, the weather is also less predictable. Autumn provides a better chance of clear conditions, which is what you want. You don’t want to climb 4000/13123 meters only for the weather to cloud your view.
October and early November are the peak months for trekking in Nepal, which means busier trails and inflated prices. In our opinion, it’s better to avoid that time altogether.
We trekked in early December, and the visibility was perfect; however, it was freezing at higher altitudes. Minus fourteen degrees to be exact, and we even encountered a few avalanches along the route. As I say, choose your timing wisely.
Annapurna Base Camp Trek Difficulty
This section gives you an idea of what to expect when trekking to Annapurna Base Camp.
Distance
Our Fitbit determined that the total distance of the trek for us was just over 130 km/81 miles. We started our trek in Nayapul and finished in Siwai; although, there are several routes that can make your trek longer or shorter should you wish.
Difficulty
Naturally, how difficult you find the trek will depend on your fitness level and what conditions you have to face. The route is often referred to as one of the easier treks in Nepal; however, it still shouldn’t be taken lightly.
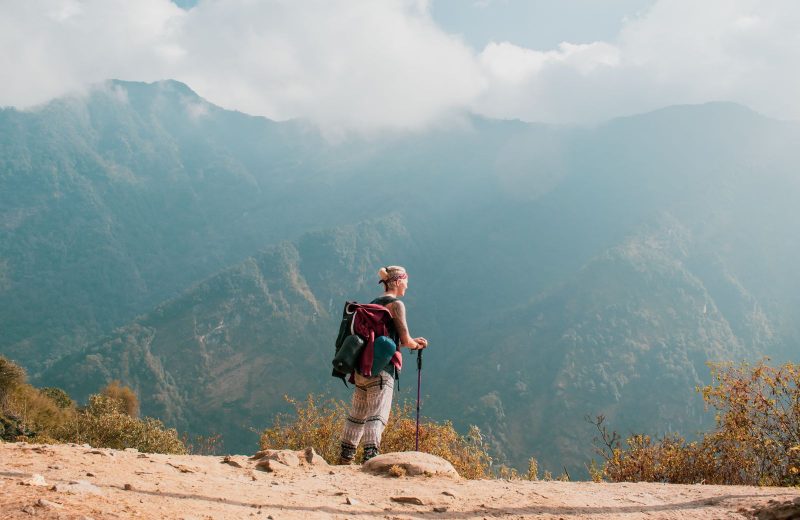
If you haven’t done much multi-day trekking in the past or you’re not in great shape, I expect you’ll find the trek moderately to very difficult. Some points along the trail incline for hundreds of meters at a time and can be a real burner on the legs.
But, in terms of ease of navigation, there are no concerns whatsoever. We had no trouble following the route despite trekking without a guide.
Elevation
The total elevation of the trek to base camp is 4130 meters/13550 feet. However, it’s not a matter of climbing up and then back down again. The route is a continuous trail of uphill climbs followed by declines, so it’s equally challenging throughout the trek.
Duration
We were able to complete the Annapurna Base Camp Trek in six days by following the suggested itinerary I have included further down. But, we worked to quite a demanding schedule, where we’d hike an average of 7-9 hours per day. I believe most people complete the trek between 7-10 days.
RELATED: How to Go Trekking in Nepal and What Not to Do—Poon Hill Trek
Unlock FREE Flights and Hotels!
Credit cards aren’t just for spending—they’re your ticket to epic travel rewards!
By using the right card for your everyday purchases, you could earn points for free flights, hotel stays, and more. No tricks, just smarter travel. Ready to see how?
Trekking With a Guide vs. Without a Guide
Why did we decide to trek to Annapurna Base Camp without a guide? Honestly, for us, it came down to budget. A guide would set us back $25 a day, and if we wanted a porter to carry our bags as well, it would be an additional $20 a day. While it would have been nice to provide a job to a local, we just didn’t have the budget for it.
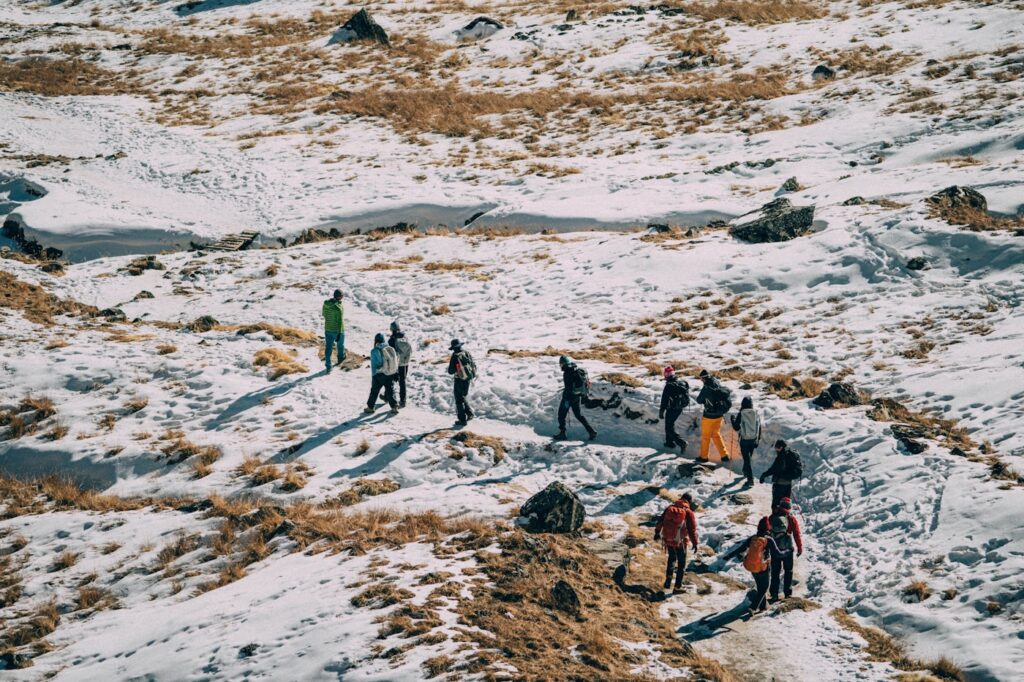
Don’t get me wrong; we assessed the safety aspect of our decision in thorough detail before coming to a conclusion. You can’t put a price on safety, and we would rather have not trekked at all if we thought we were putting ourselves at risk. But, we researched online as well as speaking with other hikers and were confident we’d be able to complete the trek by ourselves.
Of course, it isn’t for me to tell you if you should trek with or without a guide. Only you know your capabilities and limits. However, I can say that in terms of navigating the trail, there are next to zero concerns regarding safety or getting lost.
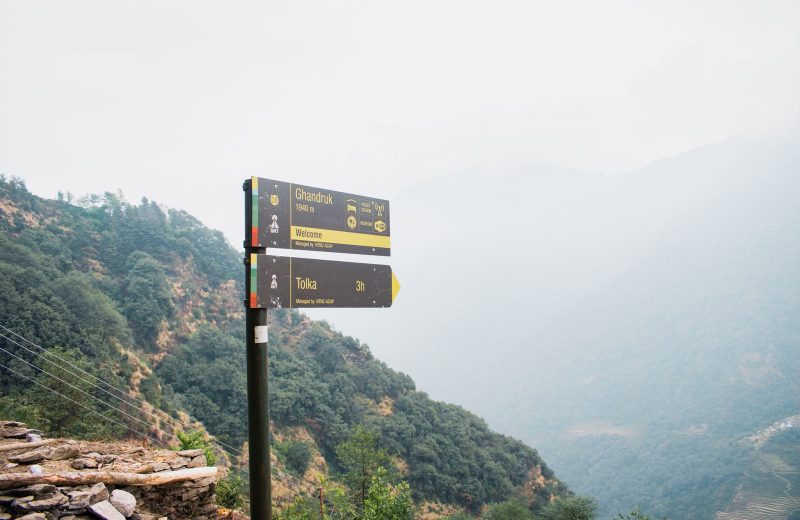
Despite a variety of terrains, the route is straightforward and always well defined with signs in every village pointing you in the right direction. All in all, the trek is easy to follow and manage on your own.
What to Prepare for Annapurna Base Camp Trek
Now that you know when you’re going to trek and if you’ll proceed with or without a guide, it’s time to get fully prepared. Again, pay close attention to each of these points, as they can all have a direct impact on your overall trekking experience. Fail to prepare, prepare to fail.
Trekking Permits
Anybody who plans to step foot into the Annapurna Conservation Area is required to obtain a trekking permit and TIMs card in advance of their trek. (And the answer is yes, Annapurna Base Camp is in the conservation area if that wasn’t already obvious). It’s a straight forward enough process, but you’ll need to know what to prepare to ensure everything runs smoothly.
Now, if you decide to trek with a guide, it’s likely that the agency will take care of the documentation for you. Of course, it’s best to double-check that with them when you are organizing your trek.
On the other hand, if you are trekking without a guide, you’ll need to take your documents to the tourist center in either Kathmandu or Pokhara a few days ahead of your trek. You get the permits on the same day, but it’s best to allow yourself extra time should there be any problems.
What you’ll need:
- Passport
- 4x passport photos (you may be able to get these done at the tourist center)
- Trekking route (Annapurna Base Camp etc.)
- Start and finish points of your trek.
- Trekking itinerary (approximate start and end date)
- Emergency contact information local (hotel or guesthouse)
- Emergency contact information family
- Fees in local currency (see official tourism website of Nepal for recent pricing)
I should mention that there is no way of getting around paying for an Annapurna trekking permit. There are checkpoints along the trail, and the staff will want to check your documents. Remember, the permits are also there to help keep you safe, as they help to keep track of everybody who enters and leaves the conservation area.
What to Pack
Packing for Annapurna base camp is almost as daunting as the hiking itself. But, having the right gear is essential for a comfortable and enjoyable trek. As I mentioned earlier, we were utterly underprepared. So, it was a relief to find we could buy or rent a lot of the stuff at a reasonable price in Pokhara and Kathmandu.
There are essential items that you’ll need to consider when packing for your trek, which I list below. But, I advise checking out an Annapurna Base Camp packing list for a more comprehensive guide.
The most important thing to remember is not to overpack. Even if you are paying for a porter, bear in mind that they are often carrying 88+ pounds at a time. Trust me when I say that you don’t need as much as you think you do. Practicality and comfort are the sweet spots.
- Hiking backpack with excellent support
- Comfortable, warm, and waterproof trekking clothes
- Trekking boots (worn in so you don’t get blisters)
- Accessories (gloves, sunglasses, scarf, etc.)
- Warm evening clothes and comfortable shoes
- Trekking essentials (trekking poles, sleeping bag, rain covers, etc.)
- Medical and first aid kit
- Essential toiletries
- Essential electricals
- High energy snacks
- Cash for guesthouses, food, etc.
- Don’t forget to pack travel insurance either!
Budget
Here’s an idea of how much things cost along the trail so that you can prepare enough cash. Be aware that you won’t be able to get any money along the route, so it’s wise to take more than you think you’ll need.
Bus to/from starting point: 200 NPR ($2)
Taxi to/from starting point: 1000 NPR ($9)
Private Jeep back to Pokhara: 4000 – 5000 NPR ($40)
Accommodation: 300-700 NPR ($2-7) per night
Meals: 600-1200 NPR ($5-10) – Gets more expensive the higher you climb
Purified Water Refill: 200-500 NPR ($2-5) – Gets more expensive the higher you climb
Tap Water: Free but needs sterilizing with iodine tablets or Steripen.
Suggested Annapurna Base Camp Trek Itinerary
Now that you’re fully prepared let’s have a look at what your trekking itinerary might look like based on our experience. We completed the trek in six days, but this will obviously differ from person to person, as some might want to take it slower than others. The aim is to give you a feel of what to expect each day, and you can change it up as you go along.
Day 1: Pokhara to Ghandruk (2012 meter/6601 feet)
The most popular starting point for the trek is Nayapul, which is a good 2-3 hours drive away. So assuming you stayed the night in Pokhara, you’ll want to get on your way nice and early. We got on a cramped bus from Pokhara and were ready to start our trek by about 10 am. Excited and full of energy, we rallied with herds of other hikers out of the town and into rural terrain.
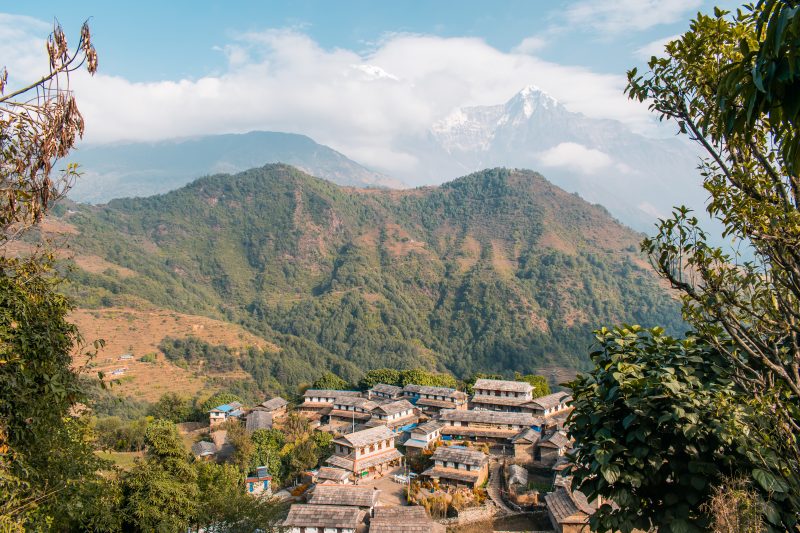
Eventually, we found our pace, and the hiking groups became more scattered. The first two hours of the hike are a little uninteresting, as we clambered what seemed a never-ending dirt road.
It wasn’t until we started seeing the signs for Ghandruk that things got more interesting and tiresome too. If we thought the dirt road was never-ending, there are no words for the stairs we had to climb. All I know is they took us the best part of the afternoon until we called it a day at a teahouse in Ghandruk.
Day 2: Ghandruk to Chomrong (2170 meter/7119 feet)
After an early night and a great sleep, we were up bright and early to start the day. Little did we know that would be our last decent sleep for a few nights. The altitude can really mess with your sleep patterns, as you’ll find out.
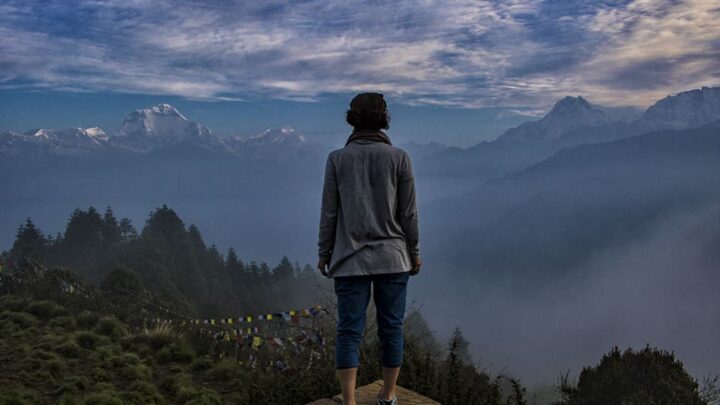
It had been cloudy when we arrived at our Teahouse the previous afternoon, so when we walked out of our room to a clear sky and our first view of the Annapurna mountains, our jaws dropped to the floor. It was glorious, and we reveled in it for a good fifteen minutes before heading to breakfast.
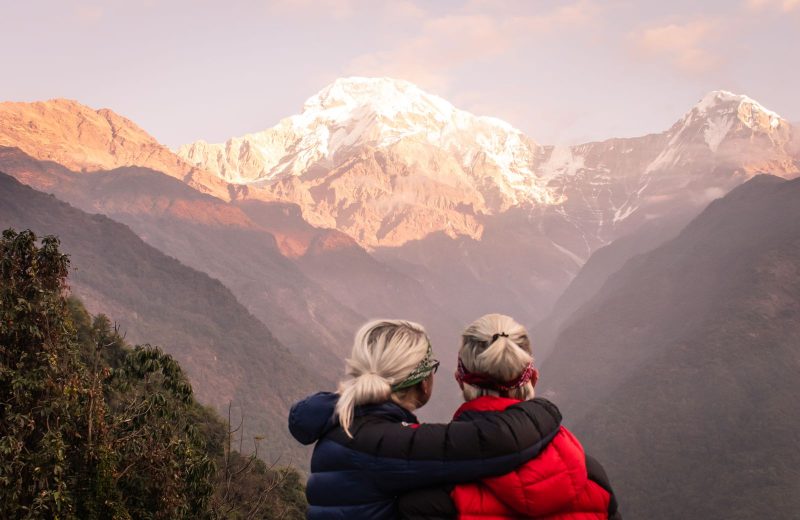
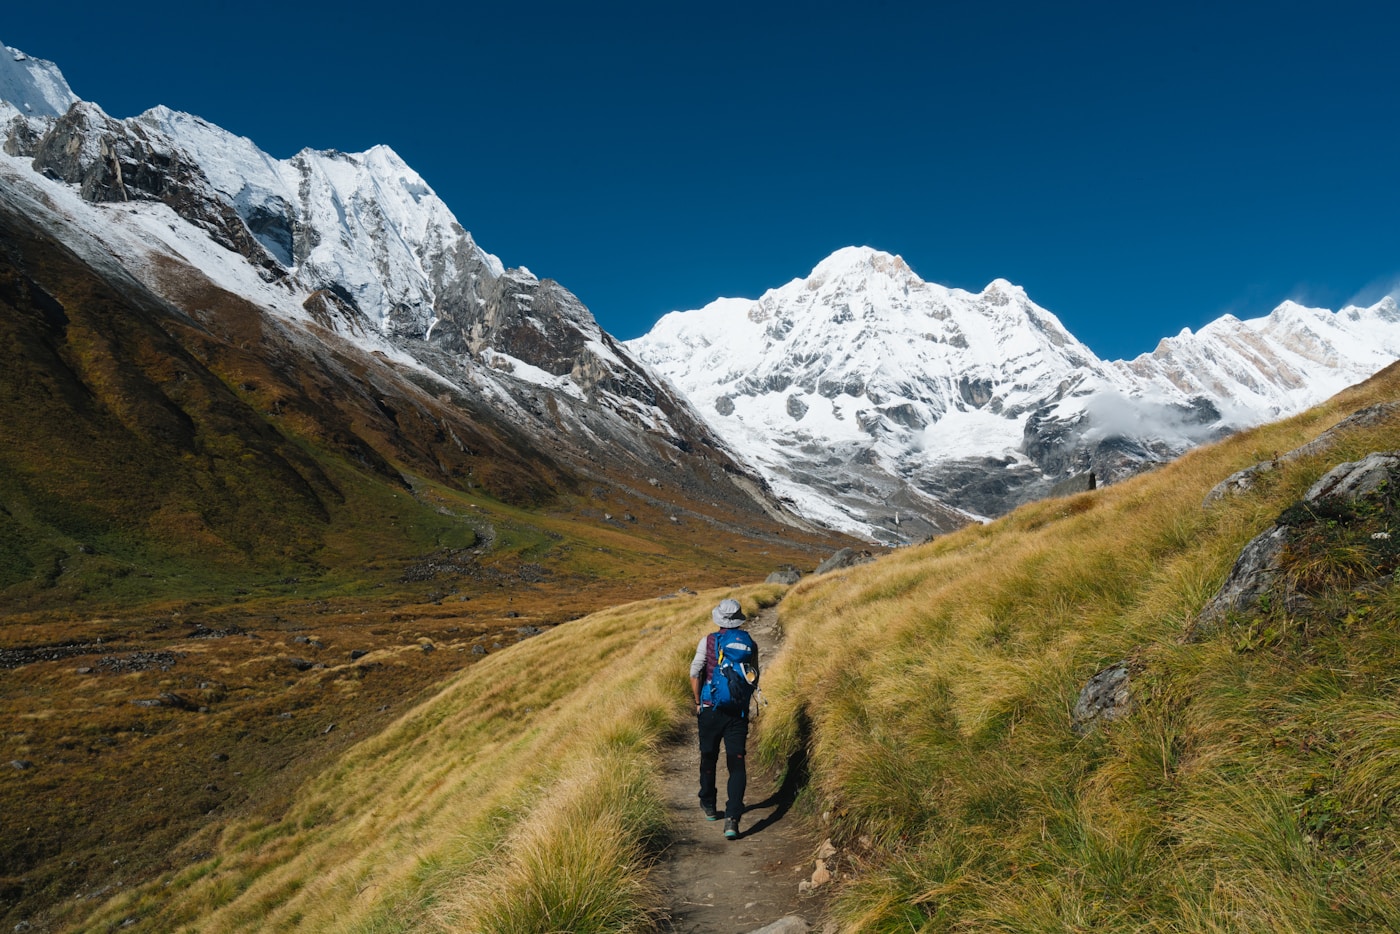
Afterward, we packed up our things and got on our way. Today you’ll encounter a variety of terrain, from quarries and woodland to rivers and rice paddies. It’s a challenging day as the route leads you all the way down into the valleys, before commanding you back onto an incline.
But, with all the scenic views and nature you’ll encounter, it encourages you to keep pushing through. The hardest part of the day is the final stretch from Kimrong Khola to Chomrong. Remember to stop regularly for rest, and most importantly, stay hydrated.
Day 3: Chomrong to Himalaya (2920 meters/9580 feet)
On day three, we woke again to clear skies and an enchanting view of the Annapurna mountains. Even if you might feel like your body is tired, your mind will feel more alive than ever. Natural beauty, such as this is rare, and you’re left feeling as if no place else in the world exists. If you enjoy meditating, it’s the perfect place to do so before fueling up for the day ahead.
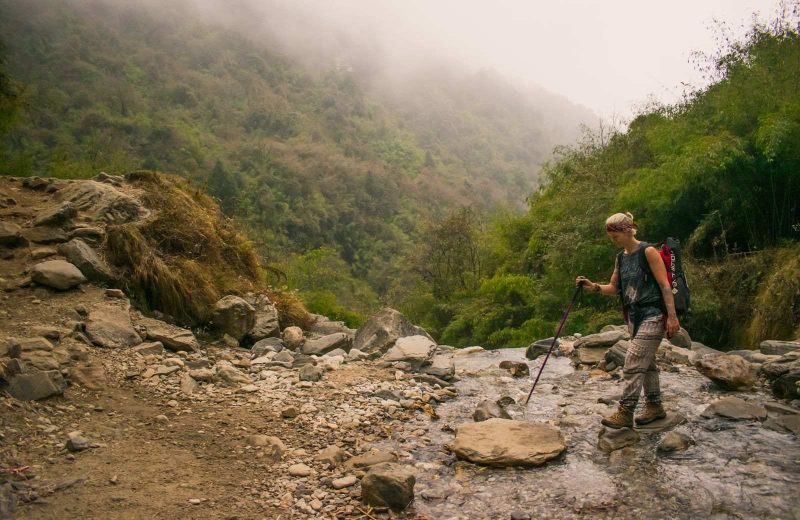
The trail today starts off nice and easy, which you’ll be grateful for after the grueling final ascent on yesterday’s trek. The route out of Chomrong leads you way down into a majestic valley where you’ll cross a crystalized river fresh from the mountains.
But, I’m afraid that the easy part over, and the rest of the day will be a continuous testing incline into the Himalayas. Again, it’s the final ascent, which is a real killer on the legs, and you’ll probably start to notice the air getting thinner. A positive mindset will get you through; just keep going!
Day 4: Himalaya to Annapurna Base Camp (4130 meters/13550 feet)
Alright, day four, and it’s set to be the toughest yet most rewarding of them all. All being well, you’ll make it to base camp by the end of the day, and that’s the most difficult part over with (well sort of).
Cling on to that fact throughout the climb. Your tired, aching muscles will likely be screaming at you as you tackle the ascent. Not to scare you or anything, but hey, a girl’s gotta be honest!
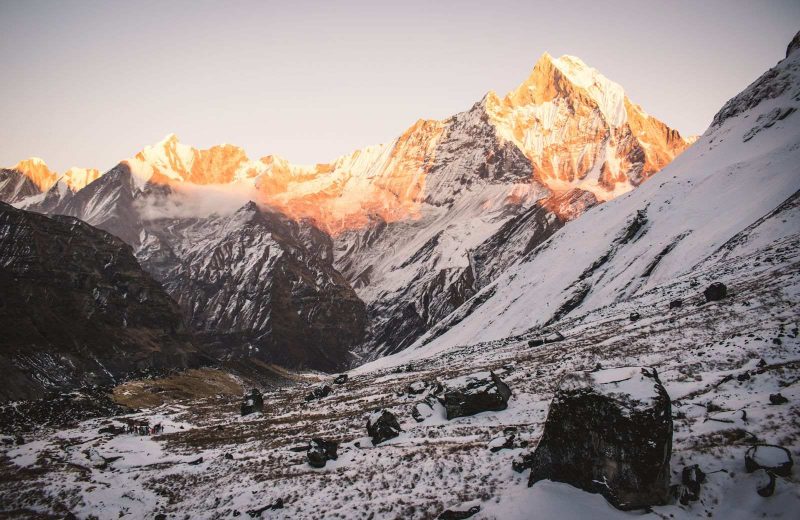
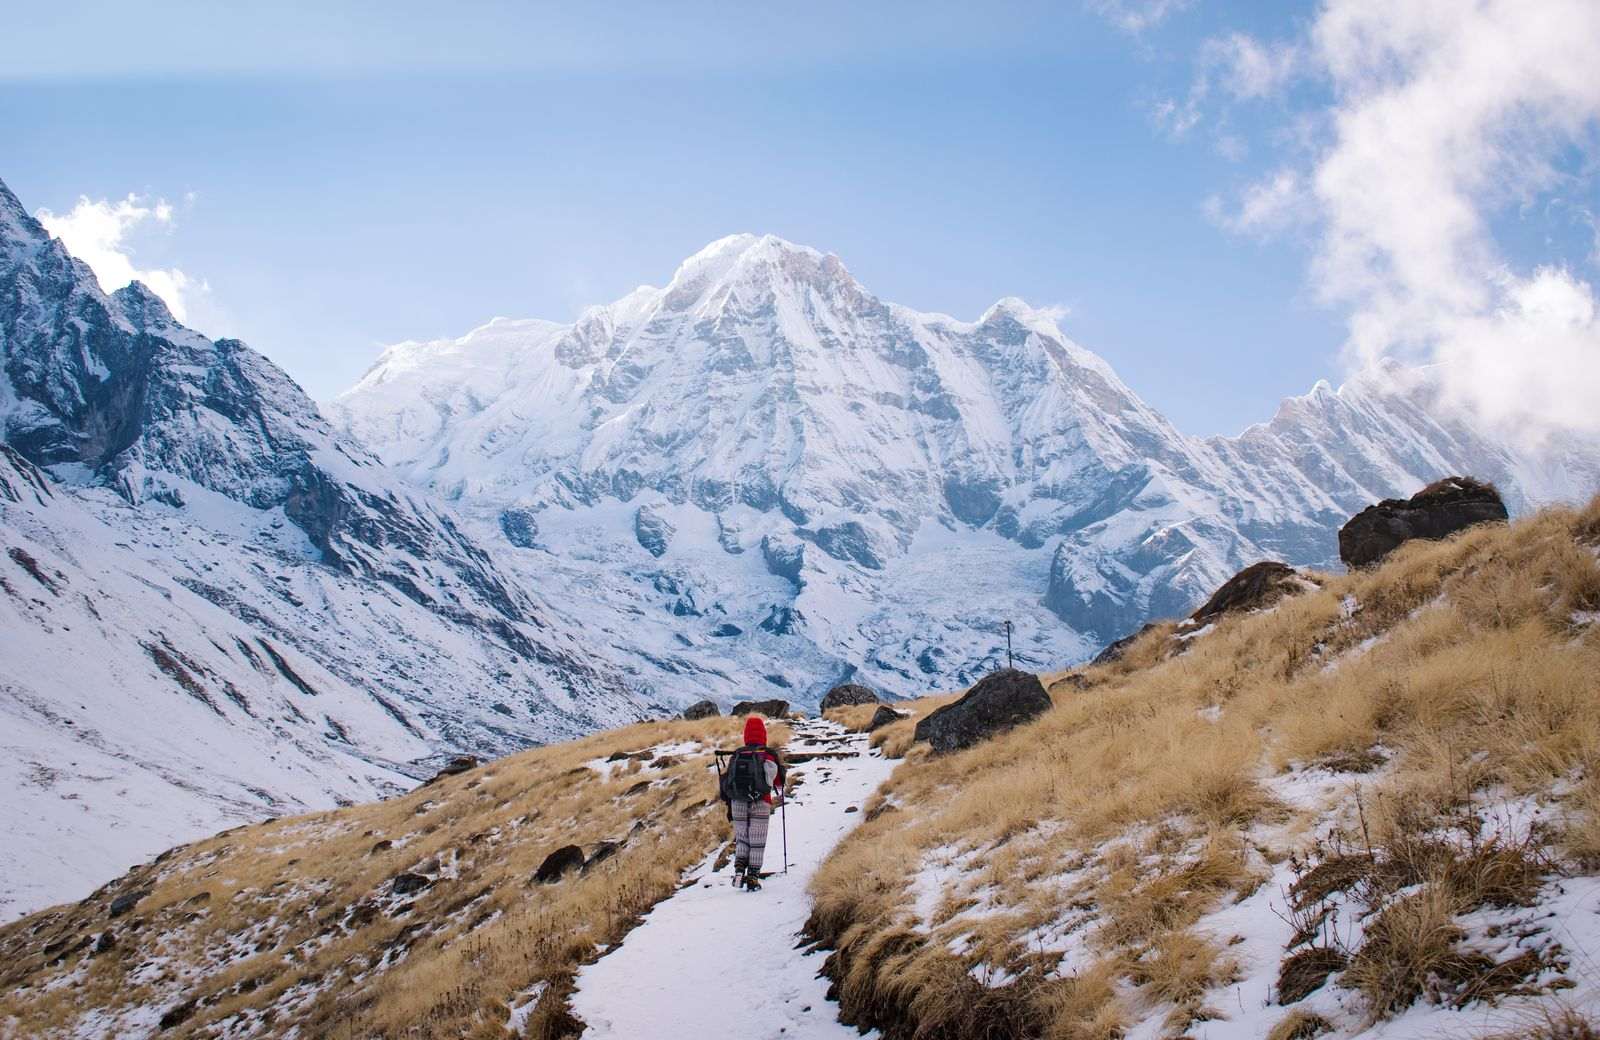
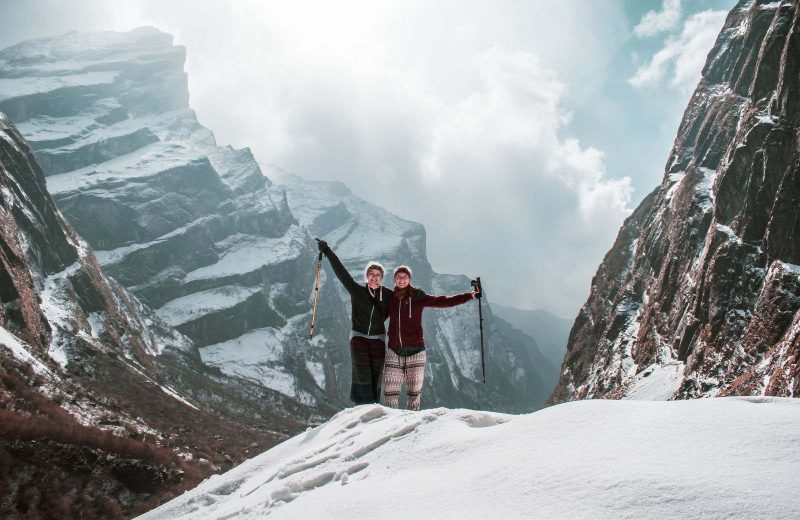
In all seriousness, this day was our favorite part of the trek. You are way up in the mountains now, and the astonishing views have you feeling like you’re on another planet. Depending on the time of year, there’s even likely to be snow on the ground. Which, of course, only adds to the excitement.
Adrenaline coursed through our veins as we marveled at the views (how can nature be this beautiful?), providing that extra push we needed to reach the top of the mountain.
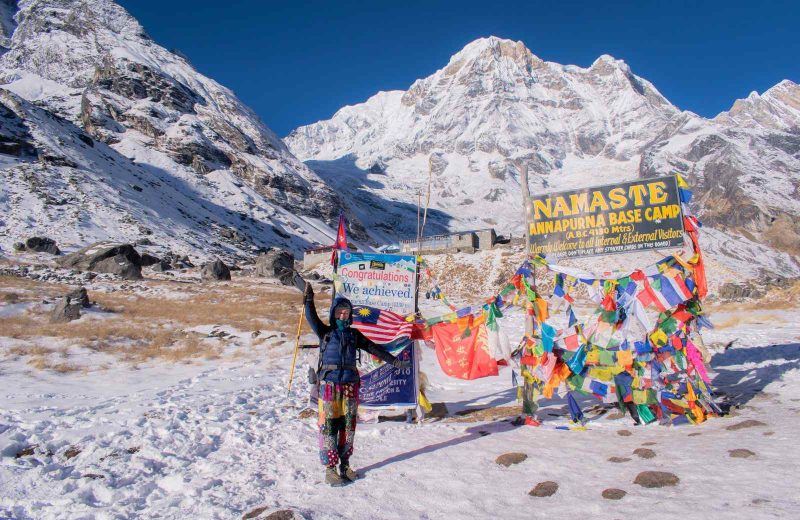
The feeling as we approached base camp isn’t one easily put into words. A combination of victory, pride, and exhaustion left us both overwhelmingly emotional. We’d done it. We’d climbed a mountain with no guide or help. We did it together, and we felt invincible. I don’t think we’ll ever forget that feeling for as long as we live.
Day 5: Annapurna Base Camp to Chomrong
It was a rough night at base camp. We hadn’t taken altitude sickness tablets, and we both felt it immensely at this height. Thankfully, it wasn’t so bad to cause concern, but it left us restless and unable to sleep.
On the bright side, we were up in plenty of time to get front row seats for sunrise. Honestly, it was an otherwordly experience, and no words could ever do it justice. Just trust me when I say you don’t want to miss it.
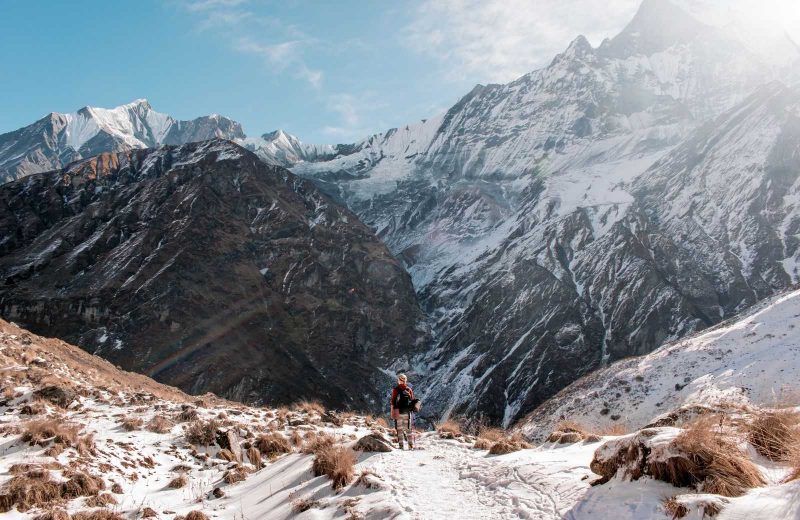
After copious amounts of coffee, we decided we would power through for as long we could today. Once you’ve peaked the mountain, the only thing you can think about is getting back down for a warm bed and shower. It was a tough run to start with. It had snowed overnight, leaving the trail slippery and dangerous.
But, after that, it was smooth sailing. We moved at a nailbiting pace, taking advantage of the second wind that had succumbed us both. We trekked for a solid 9 hours and were exhausted, but to end the day in Chomrong with just one more day of trekking to go was a great feeling.
Day 6: Chomrong to Siwai
After a hot shower, huge feed, and the best night’s sleep in days, we woke to feel even more elated than before. I can only describe the feeling as euphoric as you’re walking on cloud nine.
And, this continued for weeks after the trek as well. Anyway, I digress. It’s the final hiking day, and if you play your cards right, you could be back in Pokhara by the evening.
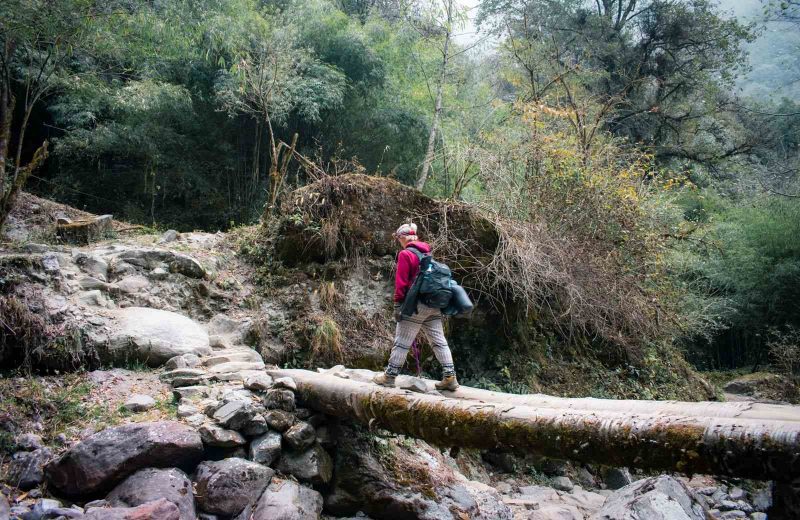
The goal is to get to Siwai before the last bus leaves around 4 pm; otherwise, you can sleep in Siwai and leave first thing in the morning. Alternatively, you could try to find a taxi, but they are scarce and often very expensive.
I guess it depends on how much you want to get back to normality. I know we did, so we ended up splitting the cost of a private jeep with another couple. It was the best $25 we ever spent!
Helpful Tips for the Annapurna Base Camp Trek
Here are a few other pointers that should help your Annapurna Base Camp Trek run smoothly.
Altitude Sickness Tablets: Take them with you even if you think you won’t need them. Have them on you just in case. You may be able to buy them in the local villages but at an extortionate price. The same goes for all essentials and medication.
Weather: Keep an eye on the weather each day before you head out on your trek and check at the villages throughout the day. Do not make the same mistake we did and get caught up in a storm along the route.
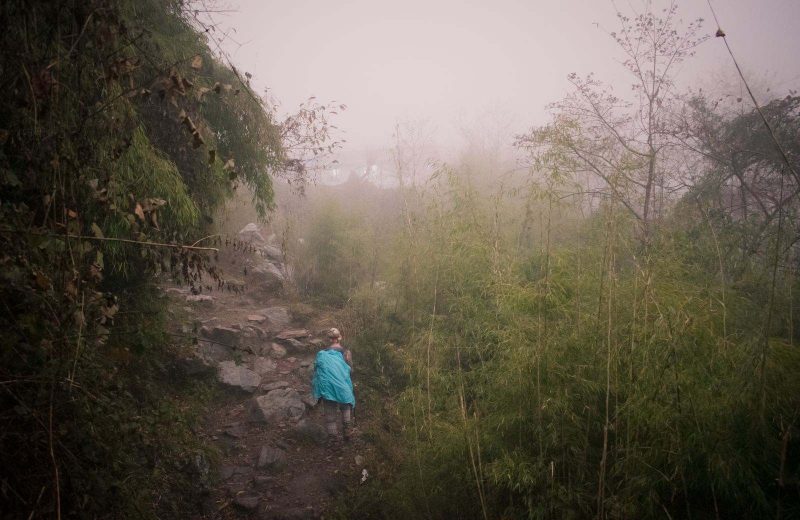
We were around 3000 meters/9843 feet high, and the clouds homed in on us. We could barely see our hands in front of our faces. It was terrifying.
WiFi: There is little to no WiFi on the route, and if there is, it’s usually an extra charge. We suggest using this time for a digital detox. We had no connection for the entire week, and it was pure bliss.
Download Maps Me: You can download the offline map of Nepal, and they have the trail route on there. It’s unlikely you’ll need it, as like I say the trail is super easy to follow, but it’s always nice to have added peace of mind.
Well, that’s pretty much it. I hope you have the most fantastic time completing the Annapurna Base Camp trek. Stay safe and happy hiking!
RELATED: I Traveled the World for 4 Years Without Travel Insurance: Do You Really Need It?
More Around Nepal
We hope you found this guide for the Annapurna Base Camp trek helpful and that you’re feeling more confident about the trek. Are you up for this challenging trek? Let us know in the comments below!
>>> Bio
Charlotte and Natalie are the explorers and adventurers behind the LGBT+ & Adventure Travel Blog Our Taste For Life. You will often find them wandering off the beaten path, immersed in nature, or enjoying authentic cultural experiences. The rest of the time, you will find them eating. Follow their journey on their blog or Instagram.
