

How to Prepare Your Phone Before Traveling: A Pre-Trip Checklist
Your passport is packed. Your flight is booked. You’ve probably checked the weather 14 times and somehow still have no idea what to pack (don’t worry, this is still me too, even after a decade of travel).
But is your phone actually ready to travel?
This is one of those boring pre-trip things that nobody thinks about until they land somewhere new and suddenly have no data, can’t log into their bank, can’t find their hotel, and the airport WiFi is asking them to create an account using a verification email they also can’t access.
Fun!
I’ve been traveling and living abroad since 2011, and at this point my phone is basically my map, translator, wallet, boarding pass, camera, taxi dispatcher, bank, and actual LIFELINE. Not even being dramatic.
I also traveled before any of this stuff existed (how, I don’t know). I used to carry paper maps and a Nokia phone that was essentially useful for Snake. We have it MUCH better now.
But only if you prepare your phone before you leave.
Here’s exactly what I recommend doing before an international trip so you can land, get connected, find your way around, and get on with your actual vacation.
1. Make Sure Your Phone Is Unlocked
First things first: Is your phone unlocked?
An unlocked phone can connect to another mobile carrier instead of being restricted to the carrier you bought it from.
This matters if you plan to use a local SIM or travel eSIM abroad.
And no, owning your phone outright does not necessarily mean it’s unlocked. Don’t assume. Check with your carrier before your trip, especially if you recently bought the phone or financed it through them.

Do this BEFORE you leave.
Trying to deal with your U.S. phone carrier from another country because you discovered your phone is locked after landing is exactly the type of travel admin nobody needs.
2. Check if Your Phone Supports eSIMs
If your phone supports eSIMs, international data has gotten stupidly easy compared to how we used to do this.
An eSIM is essentially a digital SIM. Instead of physically opening your phone and swapping tiny plastic cards around at an airport kiosk, you install a mobile data plan directly onto your phone.
For most trips, this is now how I prefer getting online.
You can usually buy and install your eSIM while you still have reliable WiFi at home or at your hotel, then switch it on when you arrive.
No hunting down a SIM shop. No language barrier. No losing your microscopic home SIM somewhere in your backpack.
If you’re still figuring out which connectivity setup makes sense for you, I have a full guide explaining how to get internet while traveling, including eSIMs, local SIMs, roaming, WiFi, and the other options.
For this trip-planning checklist, the important part is simply: sort your data out BEFORE you land.
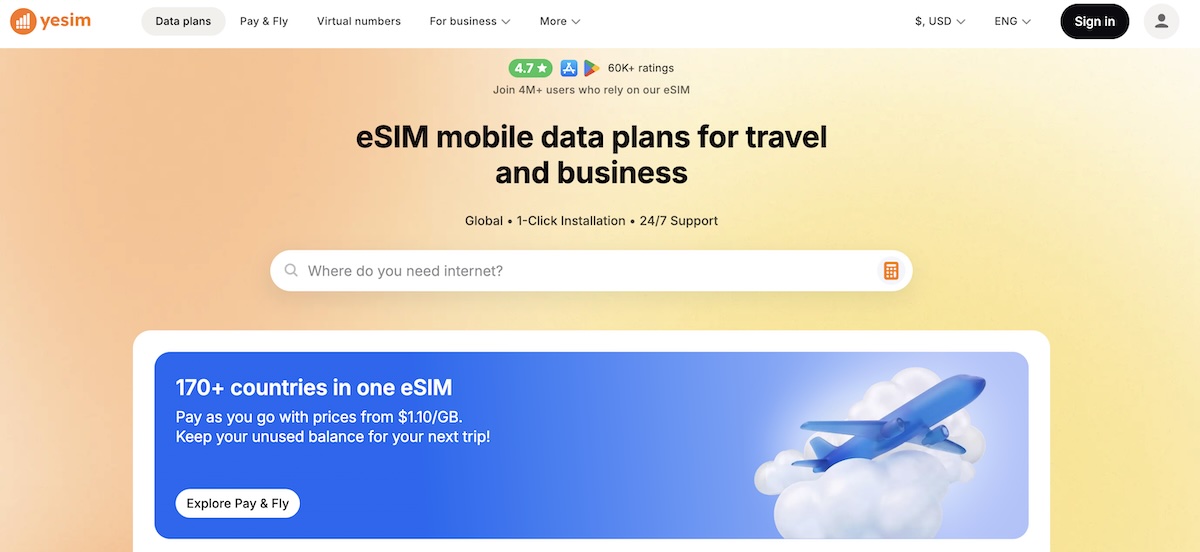
Yesim is one option for travelers who want to set this up ahead of time. Their eSIM card works across more than 200 destinations, with plans you can install digitally without replacing your physical SIM.
You can also use code YESIMNINA10 for 10% off your first Yesim purchase.
Whichever provider you choose, install it before the travel-day chaos begins. You do not need “figure out my mobile data situation” added to the list of things you’re doing after a 12-hour flight.
3. Figure Out What You’re Doing With Your Regular Phone Number
Getting travel data is only half the equation.
You also need to think about your regular phone number.
This gets overlooked ALL the time.
You might need your home number for:
- Bank verification codes
- Two-factor authentication
- Credit card alerts
- Password resets
- Important calls or texts
- Accounts you forgot were tied to that number five years ago
Personally, I keep my U.S. number through Google Fi.
When I’m abroad, I generally don’t use Google Fi as my regular mobile data. I turn the data off and use an eSIM or local SIM instead.
Google Fi basically acts as my number keeper.
I still have my longtime U.S. number, I can receive important texts, and when I go back to the States I can turn the data back on and have service without getting a new SIM or number every time.
For me, it has been WAY easier than some of the convoluted free number-porting hacks I’ve seen people use.
Could you find a cheaper way to hold onto a U.S. number? Maybe.
Do I want to gamble my bank login and two-factor authentication on a weird workaround to save a few dollars? Not particularly.
Just remember that your travel eSIM and your regular phone number can serve two totally different purposes.
For me:
Google Fi = my permanent U.S. number
Travel eSIM/local SIM = my data abroad
Easy.
4. Fix Your Two-Factor Authentication Before Leaving
Speaking of verification codes…
Please log into your important accounts BEFORE you fly halfway around the world.
I mean:
- Bank accounts
- Credit cards
- Primary email
- PayPal
- Investment accounts
- Social media
- Work accounts
- Anything else you’d be screwed without
Make sure you know how your two-factor authentication works and what happens if you can’t access your normal phone number.
Authenticator apps can be particularly useful because they generate codes on your device rather than relying entirely on SMS.
Also save your backup/recovery codes somewhere secure.
Because you know exactly when your bank is going to decide it needs an extra security check.
Not while you’re sitting comfortably on your couch at home.
It will happen while you’re in Uzbekistan trying to pay for a hotel.
Obviously.
5. Download Google Maps AND Maps.me Offline
Even if you have an eSIM.
Even if you bought unlimited data.
Even if your carrier pinky-promised you’ll have coverage.
Download offline maps.
Cell service disappears. Data randomly stops working. You end up in remote areas. Your plan expires. Your phone takes a minute to connect after crossing a border.
It happens.
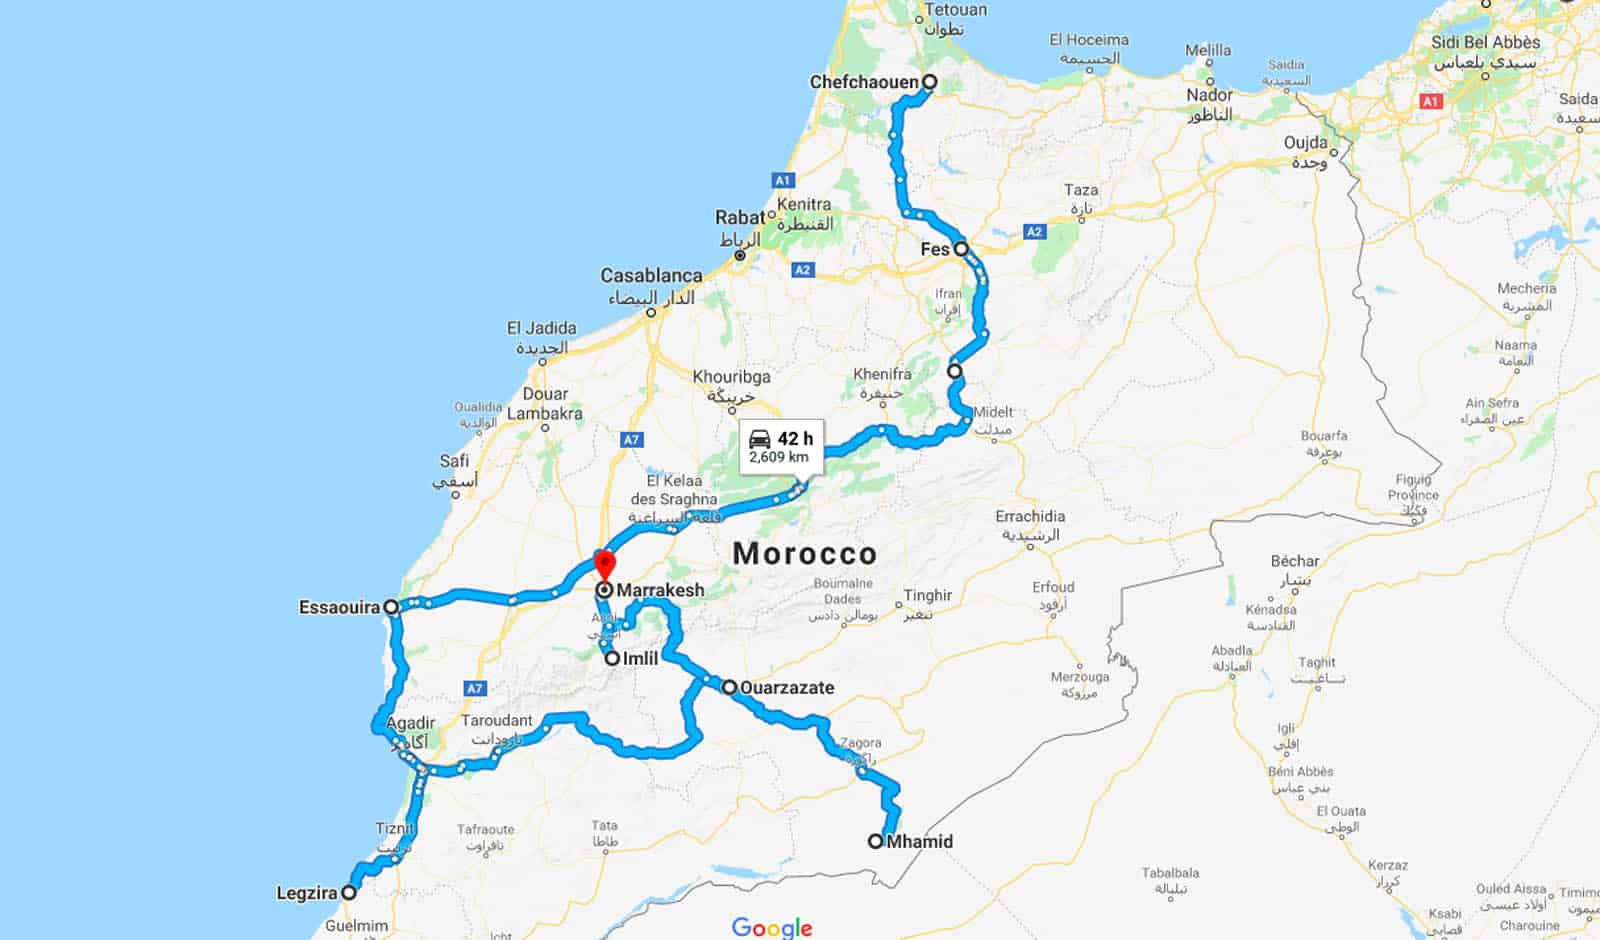
I use both Google Maps and Maps.me.
Before arriving somewhere, I’ll download the area I’m visiting and save important places such as:
- My hotel
- The airport
- Train or bus stations
- Restaurants I want to try
- Major attractions
- Meeting points
- Anything I know I’ll need immediately
Google Maps is obviously great for businesses, reviews, opening hours, and general navigation.
Maps.me is one of my favorite backups, particularly when I’m somewhere more remote or hiking.
You don’t need five mapping apps. Just have at least one that works when your internet doesn’t.
6. Download the Local Language in Google Translate
Another thing I almost always do before a trip: download the local language for offline use in Google Translate.
You might barely touch it.
Or it might save your ass.
There’s rarely an in-between.
The camera translation feature is especially useful. Point your phone at a menu, sign, ticket machine, package, or random button you’re scared to press, and Google can translate what you’re looking at.
Offline language downloads also mean you’re not completely helpless if you lose data.
And don’t assume English will get you through every situation, even in places where plenty of people speak it.
You don’t need Google Translate until you REALLY need Google Translate.
Then suddenly it’s the most important app on your phone.
7. Download the Apps People Actually Use at Your Destination
One of the easiest newbie travel mistakes is assuming every country uses the same apps you use at home.
They don’t.
You might land somewhere, open Uber, and discover Uber doesn’t exist there.
Meanwhile, everyone else is using another app that does essentially the same thing.
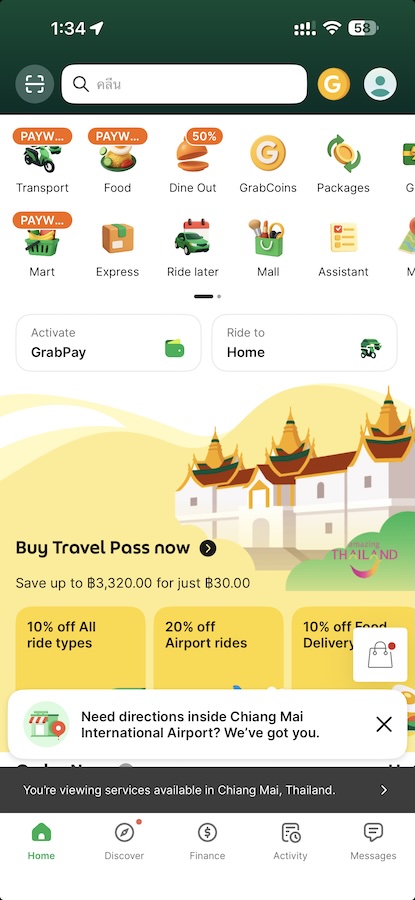
For example:
- Grab is everywhere in Thailand and much of Southeast Asia.
- Yandex Go is what I used here in Kazakhstan.
- Bolt is common in parts of Europe and Asia.
- WhatsApp is used constantly around the world for hotels, tour operators, drivers, restaurants, and basically everything else.
The exact app doesn’t matter.
The point is to spend five minutes before your trip figuring out what locals actually use.
Think about:
- Rideshare/taxi apps
- Public transportation apps
- Airline apps
- Train or bus apps
- Messaging apps
- Food delivery
- Maps
- Translation
- Accommodation apps
Download them while you’re still comfortably connected to WiFi.
Some apps require text-message verification, a phone number, or other setup that becomes significantly more annoying once you’re standing outside an airport trying to order a ride.
I have a whole guide to the travel apps I actually use if you want a starting point.
And no, you do not need 47 travel apps.
Please don’t do that to yourself.
8. Save Your Important Travel Information Offline
I am a HUGE fan of screenshots.
Very advanced technology over here.
Before a major travel day, I make sure the things I absolutely need are accessible even if I have no internet.
That might include:
- Boarding pass
- Hotel reservation
- Hotel address
- Flight confirmation
- Visa
- Passport copy
- Travel insurance details
- Train or bus tickets
- Tour confirmation
- Onward flight details
- Emergency contact numbers

You can download PDFs, save files locally, or just screenshot the important stuff.
I especially like having my hotel name and address saved.
Imagine landing somewhere where you don’t speak the language, your phone isn’t connecting yet, and a driver asks where you’re going.
Handing them your phone with the address already on the screen is infinitely easier than frantically trying to load Booking.com on airport WiFi.
I travel constantly and I STILL do this.
I trust myself.
I do not trust airport WiFi.
9. Back Up Your Phone Before Your Trip
Your phone being stolen or broken sucks anywhere.
Having it happen abroad when your phone contains your boarding passes, photos, banking apps, maps, and half your life?
Extra fun.
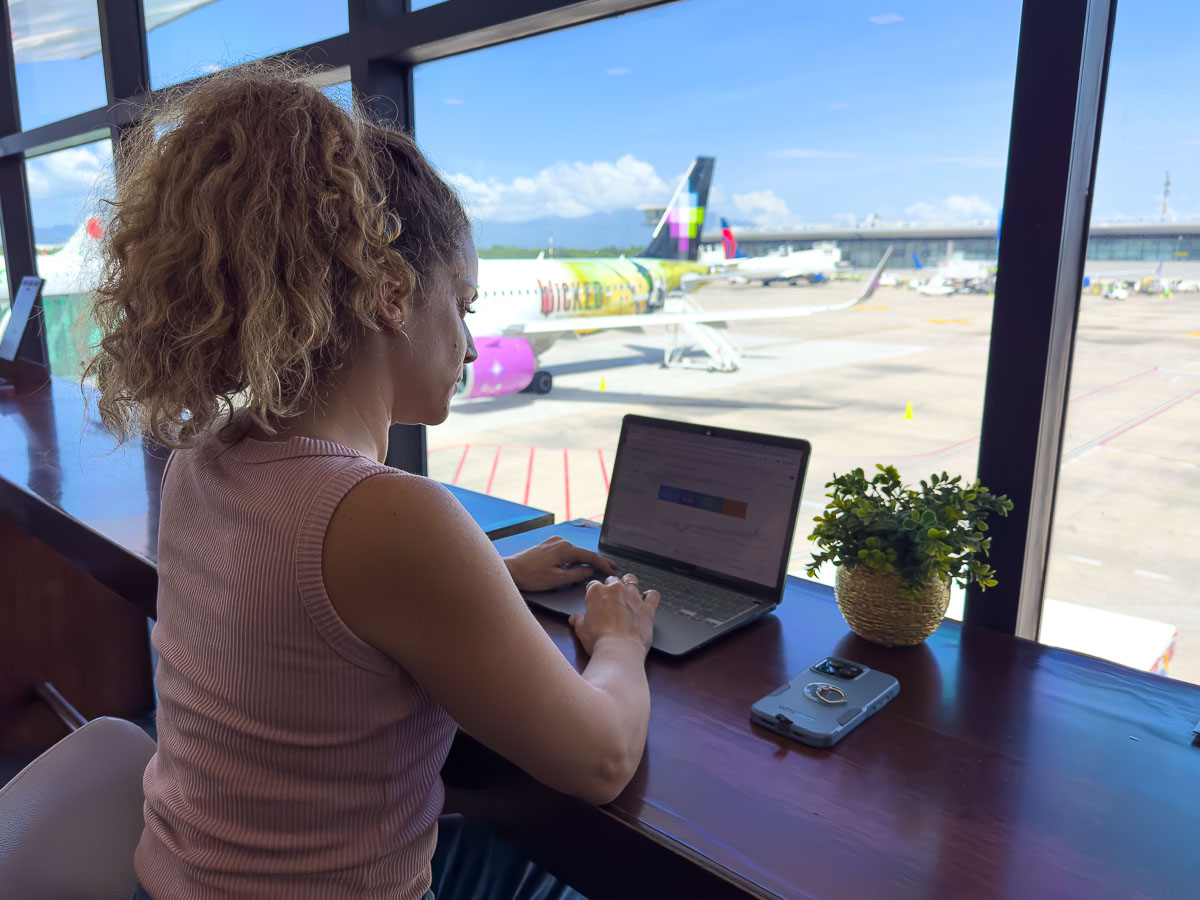
Before leaving, make sure you have a recent backup.
That might mean iCloud, Google, or whatever backup system you use.
Also check that features like Find My iPhone or Find My Device are actually turned on.
And don’t forget your photos.
If you take 900 pictures during the first week of your trip and then lose your phone on day eight, you’re going to care a lot more about those photos than you thought you would.
10. Get Your Banking Situation Sorted
Don’t wait until you’re abroad to discover:
- You forgot your debit card PIN.
- Your banking app needs an update.
- Your password manager logged you out.
- Your bank is sending verification codes to a phone number you no longer have.
- Your card doesn’t work internationally.
- Your one and only credit card has decided today is the day to stop cooperating.
- The card you brought charges you an arm and a leg in international fees.
Log into your banking and credit card apps before leaving and make sure everything works.
If your bank still asks for travel notifications, set one.
I also strongly recommend traveling with more than one card and keeping them in different places.
If your wallet disappears, you don’t want every single way you have to access money disappearing with it.
I have a whole guide to the best travel cards if you need to sort that part out too.
It can also be useful to add a card to Apple Pay or Google Wallet before you leave.
I wouldn’t treat your phone wallet as a replacement for carrying backup cards. If a card is stolen and canceled, you obviously shouldn’t keep trying to use the digital version.
But for everyday travel, having mobile payment already set up gives you another convenient way to pay when contactless payments are available.
Again, the goal here is backups.
Travel gets much easier when one small problem doesn’t immediately turn into five other problems.
READ MORE: Dealing With Money Abroad
11. Turn Off the Stuff That Can Destroy Your Data
Once you have your international data sorted, make sure your phone isn’t quietly inhaling all of it in the background.
Limited-data plan + automatic photo backup + a day of filming travel videos = BYE.
Before or shortly after switching to your travel data, check things like:
- Cellular data roaming settings
- Which SIM is being used for data
- Background app refresh
- Automatic app downloads
- Cloud photo/video uploads
- Automatic software updates
- Streaming quality
Be especially careful if you’re running your home SIM and travel eSIM at the same time.
Make sure you know which line is actually being used for cellular data so you don’t accidentally rack up roaming fees on your regular plan.
I also tend to save my giant photo/video uploads for WiFi.
Your Instagram Reel can wait 45 minutes.
12. Charge Your Phone and Bring a Power Bank
Possibly the least exciting tip on this list.
Also possibly the one that matters the most.
Your beautifully prepared international travel phone is not particularly useful at 2% battery.
Bring a power bank.
Charge it.
Actually put the cable in your day bag.
Yes, I am specifying the cable because we have all carried a fully charged power bank around with absolutely no way to connect it to the phone.
You may also need a travel adapter depending on where you’re going.
Remember that travel days can be LONG. Between maps, photos, translation, rideshare, messages, boarding passes, and entertainment, your phone gets absolutely hammered.
13. Do This Five-Minute Phone Check Before You Leave
You do not need to spend three hours preparing your phone for an international trip.
Do the initial setup once, then run through this quick list before you leave:
- Is my phone unlocked?
- Does it support eSIM?
- Have I sorted out international data?
- Is my home SIM set up correctly?
- Can I receive important verification codes?
- Does my two-factor authentication work?
- Did I download offline Google Maps?
- Did I download Maps.me?
- Did I download the local language in Google Translate?
- Do I have the transportation and messaging apps used at my destination?
- Are my important bookings/documents saved offline?
- Is my phone backed up?
- Is Find My Device turned on?
- Can I log into my banking apps?
- Do I have more than one way to access money?
- Is my power bank charged?
And seriously, sort your data before the plane lands.
Whether you use a local SIM, roaming, or a travel eSIM like Yesim, having connectivity the second you arrive makes that first hour in a new country about 1,000 times easier.
If you want to use Yesim, you can use YESIMNINA10 for 10% off your first purchase.
Then you can land, pull up your map, call your ride, message your hotel, and immediately start doing the fun part.
You know…
Actually traveling.
Instead of standing next to baggage claim desperately refreshing airport WiFi.
I hope this helped you plan and prep your phone for your upcoming trip!
