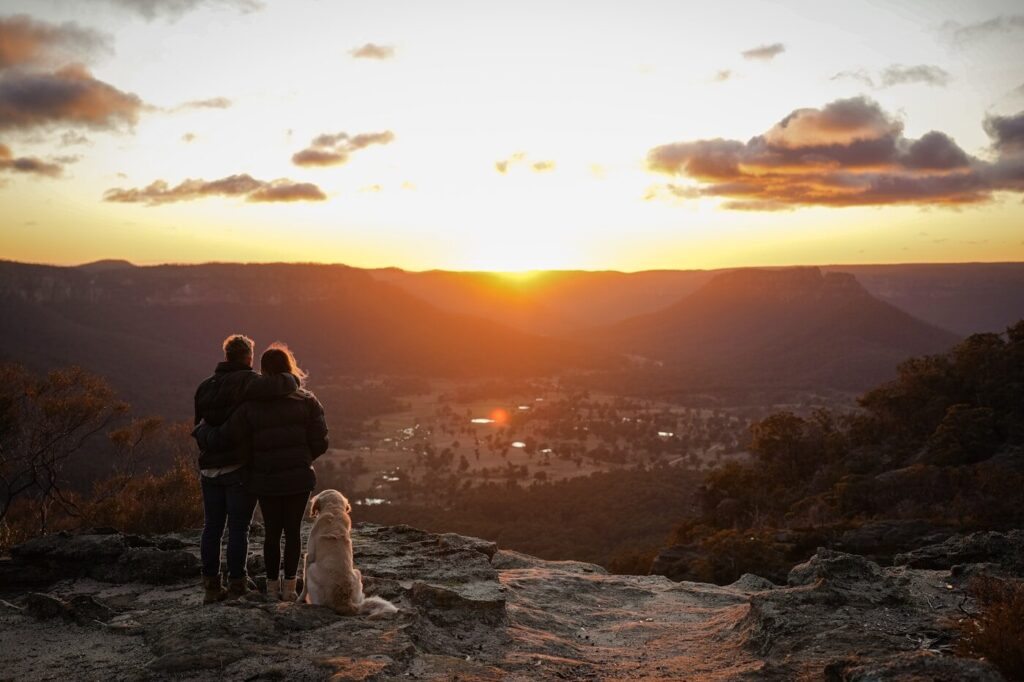
The Exact Steps to Move Your Dog from the USA to Australia — In Order
One of the most common questions I get from clients planning a move to Australia is some version of: “My dog is coming too — how hard can it be?”
The answer, unfortunately, is: harder than almost any other international pet move in the world.
Australia is rabies-free and plans to stay that way. That means a government-mandated preparation protocol that spans months, blood tests sent to specific approved laboratories, and mandatory quarantine on arrival — with no exceptions and no flexibility on timing. I’ve worked with enough families going through this process to know that the biggest risk isn’t any single step being too complicated. It’s not knowing the steps exist, or doing them out of order.
For clients who want hands-on expert guidance through all of this, Starwood Pet Travel specializes in exactly this kind of complex relocation and knows Australian requirements cold. But whether you go it alone or work with a specialist, here’s the sequence you need to follow.
Why Australia Is Different From Every Other Destination
Most international pet moves involve a health certificate, a rabies vaccine, and a microchip. Australia pet moves require all of that — plus a multi-month preparation timeline, government-endorsed labs and vets, and post-arrival quarantine at the only approved facility in the country.
Most families need to start this process at least 6–12 months before their move date. I know that sounds extreme. It isn’t.
Step 1: Microchip Your Dog (If Not Already Done)
When: As early as possible — must happen before the rabies vaccine
Australia requires an ISO-compliant microchip (15-digit, ISO 11784/11785 standard). Many US chips are 10-digit and won’t be readable by Australian scanners — if that’s the case, a second compliant chip needs to be implanted.
The critical rule: the microchip must be verified before the rabies vaccination is administered. If the vaccine goes in first, it won’t count toward Australian requirements and the vaccination process has to start over.
Step 2: Rabies Vaccination (Primary Course)
When: After microchipping; depends on vaccination history
If the dog has never been vaccinated for rabies — or their history is undocumented — they’ll need a primary course: a first dose, then a second dose 30–60 days later depending on the vaccine used.
Dogs with a current, well-documented rabies history may qualify for a shorter protocol. A vet will need to verify this carefully against Australian requirements — not all US vaccination records are detailed enough to satisfy what Australia asks for.
Step 3: Rabies Titer Test (RNATT)
When: Minimum 30 days after the final rabies vaccination
This is the step that catches most families off guard, and the one I make sure to flag early.
Australia requires a Rabies Neutralizing Antibody Titer Test (RNATT) — a blood test confirming the dog’s immune system actually responded to the vaccine. A few things that matter enormously:
- Blood must be drawn at least 30 days after the final rabies vaccine
- The sample must go to an approved laboratory — not a general vet lab. Approved options include the Kansas State University Rabies Laboratory and a small number of others on Australia’s accepted list
- Results must show a titer level of ≥ 0.5 IU/ml to pass
- If it fails, the dog is re-vaccinated and the 30-day wait starts over
Most importantly: the 180-day clock starts from the date the blood was drawn, not the date results come back. Don’t delay scheduling this test once the vaccine window opens.
Step 4: The 180-Day Waiting Period
When: Starts the day of the titer blood draw
Once the blood is drawn — assuming the test passes — a mandatory 180-day waiting period begins. The dog cannot legally enter Australia until those 180 days have elapsed. No exceptions, no expedited options.
Combined with the vaccination timeline and the 30-day pre-titer wait, you’re looking at a minimum of 7–8 months from microchip to departure eligibility. This is the number that tends to restructure people’s moving plans entirely.
Use this window to:
- Apply for the import permit
- Book quarantine facility spots (they fill up fast)
- Research approved airlines and cargo routes
- Line up USDA-accredited vet appointments
Step 5: Apply for an Import Permit
When: During the 180-day waiting period — at least 3–4 months before travel
An official import permit from the Australian Department of Agriculture, Fisheries and Forestry (DAFF) is required before the dog can enter the country. It’s applied for through their BICON system and outlines exactly what conditions must be met — treatments, documentation, approved ports of entry.
Permits take several weeks to process. Read yours carefully when it arrives — it may contain requirements that affect the timeline in ways that aren’t immediately obvious.
Step 6: Internal Parasite Treatments
When: Within the window specified in the import permit
Australia requires treatment for tapeworm (Echinococcus/Taenia) using praziquantel, administered by a vet — typically within a window of 14–120 days before arrival, though the permit will specify exact requirements. Follow the permit, not general advice online, since requirements do get updated.
All treatments need documentation: the drug name, dose, date, and administering vet’s credentials.
RELATED: How I Saved Over $20k USD in 10 Months Living in Australia
Step 7: External Parasite Treatment
When: 1–5 days before departure
The dog must be treated for external parasites — fleas, ticks, mites, lice — using an approved product within 1–5 days of the flight. The window is strict in both directions.
The vet must document the specific product, dose, and date. This is not a step to improvise.
Step 8: USDA-Accredited Vet Health Certificate
When: Within 5 days of departure
This is not a standard vet visit. The certificate must be completed by a USDA-accredited veterinarian using official USDA forms — not every vet qualifies, and finding one should happen well before the final week of travel.
The certificate confirms everything: microchip, vaccinations, parasite treatments, fitness to travel, and compliance with the import permit. It’s valid for 5 days, so timing matters.
RELATED: 13 Easiest Travel Jobs So You Can Stay Abroad Longer
Step 9: USDA Endorsement of the Health Certificate
When: Immediately after the vet certificate — before departure
After the accredited vet signs off, the certificate must go to the regional USDA APHIS Veterinary Services office for official government endorsement. Without it, the certificate isn’t valid for Australian entry.
Processing times vary — some offices are same-day, others take several days. This is one of the steps where working with a specialist pays off most noticeably. Starwood manages the USDA coordination as part of their service, which removes a significant source of last-minute stress.
Step 10: Book the Quarantine Facility
When: During the 180-day waiting period — as early as possible
All dogs entering Australia complete 10 days of post-arrival quarantine at the Mickleham Post Entry Quarantine Facility in Victoria — the only approved facility in the country. Spots fill up, and costs are paid upfront at booking.
Book during the 180-day wait. Don’t leave this until the final month.
Step 11: Choose an Approved Airline and Route
When: During the 180-day waiting period
Dogs travel as manifest cargo, not in the cabin — regardless of size. Not all airlines accept live animals on Australia routes, and not all routes are approved. An IATA-compliant crate sized to the dog’s breed is required.
The options here are more limited than most people expect, and getting the routing wrong close to departure can cause serious problems.
Step 12: Travel Day
When: After the 180-day waiting period, all documents confirmed
Bring originals — not copies — of everything:
- Import permit
- Endorsed health certificate
- Titer test results
- Vaccination records
- Microchip documentation
- All parasite treatment records
The dog checks in as cargo, clears Australian biosecurity on arrival, and is transported to Mickleham to begin quarantine.
Step 13: Quarantine and Release
When: Upon arrival in Australia
Ten days at Mickleham, monitored by government vets. Visits are permitted on designated days — check current DAFF policy for the schedule. Once cleared, the dog is free to join their family in Australia.
The Timeline at a Glance
| Requirement | Minimum Wait |
| Rabies vaccine (2nd dose) after 1st | 30–60 days |
| Titer blood draw after final rabies vaccine | 30 days |
| Travel after titer blood draw | 180 days |
| Internal parasite treatment before arrival | Per permit |
| External parasite treatment before departure | 1–5 days |
| Health certificate validity | 5 days |
| Post-arrival quarantine | 10 days |
RELATED: The Ultimate Guide to The Australian Working Holiday Visa
The Most Important Thing
Start earlier than you think you need to. The families who struggle with this process are almost always the ones who found out about the 180-day waiting period two months before their move date.
If Australia is even tentatively in your plans, begin the microchip and vaccination process now. You can adjust a flight date. You cannot speed up a government waiting period.
And if you want someone who has navigated this hundreds of times to manage it for you, the team at Starwood Pet Travel can help. They know the Australian requirements inside out and can handle everything from the titer test coordination to the quarantine booking.
Requirements and regulations change. Always verify current conditions directly with DAFF and your USDA APHIS office before starting the process.
About Starwood Pet Travel
Starwood Pet Travel is a full-service pet relocation company specializing in international travel for dogs and cats. They handle every aspect of the journey — from pre-travel health certificates and USDA documentation to airline booking, crate selection, and destination customs clearance.
Known for their personalized, hands-on approach, Starwood guides pet owners through the often complex logistics of moving animals across borders, ensuring compliance with each country’s specific import requirements.
Whether it’s a military family PCSing overseas or a professional relocating abroad, Starwood Pet Travel works to make the process as smooth and stress-free as possible for both pets and their people.